See here for Part 1 Identification
Now that we have some indications of its rarity and value, it is time to go over its condition to determine what need to be done to bring it back into a good user.
Collecting notwithstanding, my primary reason to buy old tools is with the intent to put them back into service. When I look over a tool I'm thinking of buying, my first question is always: Can I make this thing work as intended or not?
The only time I will make exception to this rule is if I am after specific parts or it has some value to me as an example to understand a tool development.
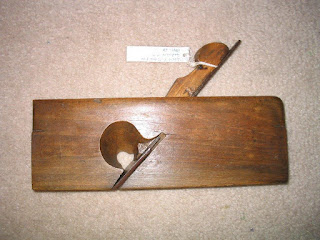
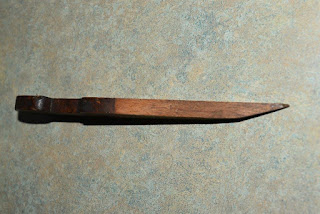
The first things to look at are the overall condition of the wood parts: Body (stock) and wedge.
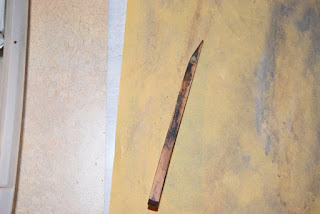
Is the body straight? Unless you are intent on making circular mouldings, it would be impossible to plane straight mouldings if the plane stock is bowed.
That happens more so with narrow profiles such as small sizes H&R, beaders, snipe bills etc. Anything with a narrow profile will of course be more prone to it.
The wood species used and how it was cut from the tree would of course influence that down the road. But bottom line, wide planes, because of the deep cut on one side for the side escape mouth are not immune to warp. Beware.
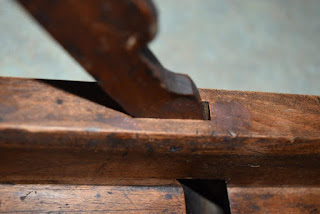
So one of the first thing I do is to sight down the sole.
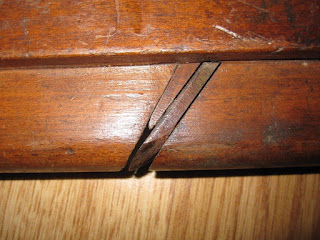
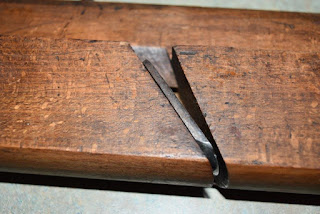
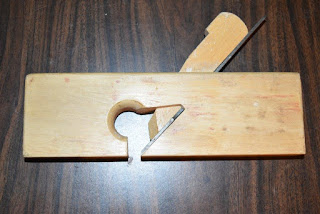
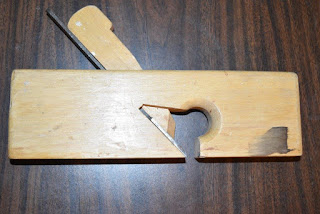
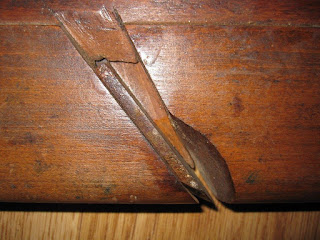
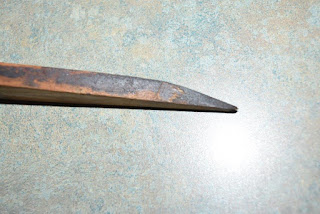
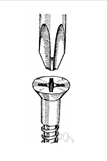
Next, I want to see how well the iron profile is matching the sole profile.
Sometimes, the irons have been swapped and you end up with a miss matched plane. Years ago I once brought back one from Scotland like that :-( That's when I learned that lesson!
If the blade and the profile of the sole don't match, the plane will not work, PERIOD! Oh, you'll make some sort of shavings, but the end results will be nowhere near what it is suppose to resemble and or the plane will quickly jam.
But we are getting ahead of ourselves, part of my assessment routine is to give it a good cleaning and touch up the blade(s). This way I can uncover defects that are sometimes hidden under rust or grime, and stop any further deterioration.
![]()
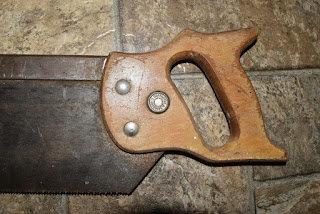
On wooden object my first step is to give it a good scrubbing with Murphy soap full strength with a soft bristle plastic brush, followed by a gentle scrub with an old 3M worn green scrubby. I followed with a rinsed brush to get most of the soap off then give it a good wipe with paper towels then a rubdown with an old T-shirt (cotton). I do the same to the wedge, paying particular attention to the surface that contact the iron, sometimes rust make hard deposits on the wood part and on the tang of the blade. BTW, I try not to wet the inside of the plane throat.
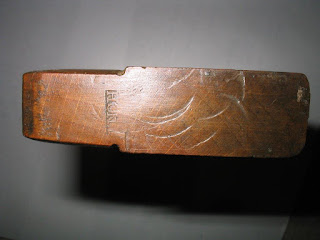
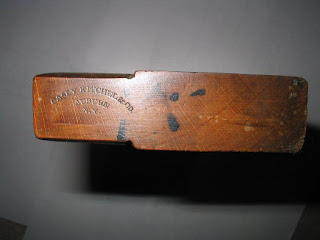
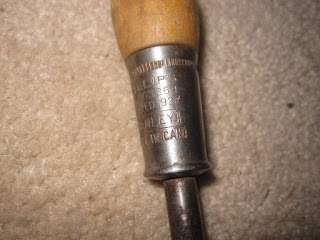
On the one I selected for this run thru, I'm also curious if I can resolve its maker stamp better, I have a hard time making out if the first letter is an E, F or R...
Often a god scrub will reveal better a weak stamp hidden under years of grime.
Also when shiny wet, the shadow plays different.
![]()
![]()
![]()
![]()
![]()
![]()
![]()
![]()
BTW, after further examinations, I'm satisfied that the first letter is an R. so R.MASON it is.
My American guide list an C.R. Mason & Co, but I doubt there is anything past MASON, and I'm pretty sure there is nothing before the R.
Need more research...
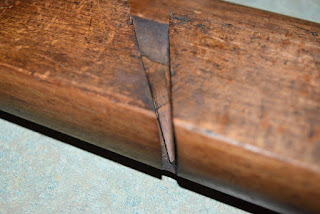
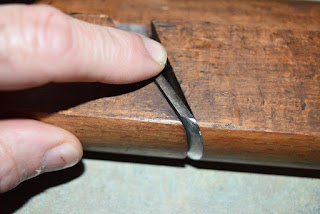
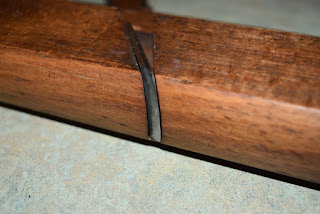
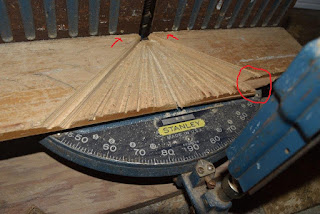
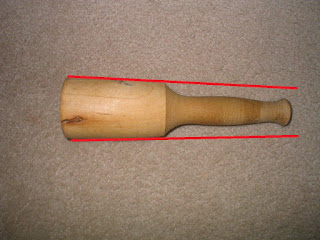
Once dry, I go over the body with a straight edge to assess its condition.
![]()
![]()
![]()
![]()
![]()
![]()
![]()
![]()
![]()
![]()
![]()
![]()
That is the minimum routine I do to my wooden planes to assess them, they have not touch wood yet, don't know how they will perform, but don't care.
I know its condition, I have stop rust and other damages, both the wood part and metal part are protected: Wood oiled and wax. Metal sharpen then oil wiped. Often I used WD-40, because it displace water, its a good thing.
Some time as part of its treatment, I'll also use Autosol, which leave behind a protective coating.
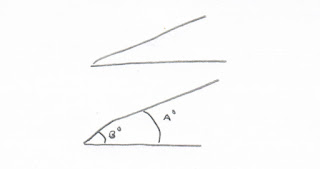
Bottom line, I do as little as possible not to change or alter the tool. For example, if I was to work on making the sides of the blade straight, I would be changing its radius (wich is 60 degrees of a full diameter circle). I would then just give it a quick cleaning with a rust eraser, just to stop corrosion that's all.
If more severely rust, I would drop it in an Evaporust bath.
![]()
It is now ready to go joined the rest of its brethren in my plane till.
Whenever I have a use for it, that's when I would fine tune the blade and paying attention to the bed/blade/wedge interface.
Why stop now? Because it is strictly in storage for now. If I were to sharpen the blade to perfection, there is no guarantee that it would remains so for my next use. I normally touch up my edges before starting work, it is just part of my routine, especially that I now have a proper sharpening bench available :-)
And the shape its in now would cut wood no problem, I'm sure, but yeah, I would refine it some more...
Next part, we will do the final tune up and make some shavings.
Bob, who has an "Hollow"-graphic memory about his tools :-)
Translation: they sometimes go into the black hole of my Random Access Memory...
Now that we have some indications of its rarity and value, it is time to go over its condition to determine what need to be done to bring it back into a good user.
Collecting notwithstanding, my primary reason to buy old tools is with the intent to put them back into service. When I look over a tool I'm thinking of buying, my first question is always: Can I make this thing work as intended or not?
The only time I will make exception to this rule is if I am after specific parts or it has some value to me as an example to understand a tool development.
The first things to look at are the overall condition of the wood parts: Body (stock) and wedge.
Is the body straight? Unless you are intent on making circular mouldings, it would be impossible to plane straight mouldings if the plane stock is bowed.
That happens more so with narrow profiles such as small sizes H&R, beaders, snipe bills etc. Anything with a narrow profile will of course be more prone to it.
The wood species used and how it was cut from the tree would of course influence that down the road. But bottom line, wide planes, because of the deep cut on one side for the side escape mouth are not immune to warp. Beware.
So one of the first thing I do is to sight down the sole.
Next, I want to see how well the iron profile is matching the sole profile.
Sometimes, the irons have been swapped and you end up with a miss matched plane. Years ago I once brought back one from Scotland like that :-( That's when I learned that lesson!
If the blade and the profile of the sole don't match, the plane will not work, PERIOD! Oh, you'll make some sort of shavings, but the end results will be nowhere near what it is suppose to resemble and or the plane will quickly jam.
But we are getting ahead of ourselves, part of my assessment routine is to give it a good cleaning and touch up the blade(s). This way I can uncover defects that are sometimes hidden under rust or grime, and stop any further deterioration.

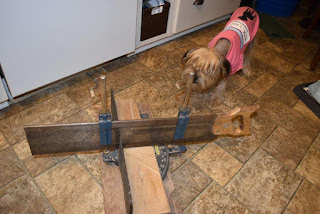
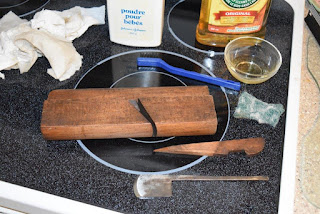
Full disclaimer, I normally do not do that in the kitchen, but...
Yes Dear. I cleaned up after :-)
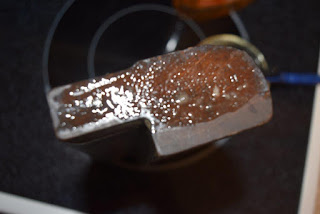
On wooden object my first step is to give it a good scrubbing with Murphy soap full strength with a soft bristle plastic brush, followed by a gentle scrub with an old 3M worn green scrubby. I followed with a rinsed brush to get most of the soap off then give it a good wipe with paper towels then a rubdown with an old T-shirt (cotton). I do the same to the wedge, paying particular attention to the surface that contact the iron, sometimes rust make hard deposits on the wood part and on the tang of the blade. BTW, I try not to wet the inside of the plane throat.
On the one I selected for this run thru, I'm also curious if I can resolve its maker stamp better, I have a hard time making out if the first letter is an E, F or R...
Often a god scrub will reveal better a weak stamp hidden under years of grime.
Also when shiny wet, the shadow plays different.
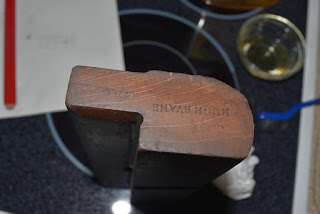
Humm a bit better but still hard to make out, lets try the pencil rubbing method
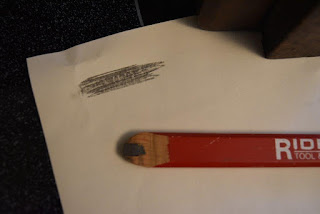

Not easy to get a good lift, I can easily pick up MASON,
but the first letter is still??
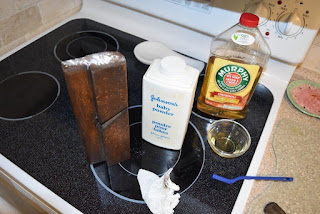
Sprinkle some Talcum powder (Baby powder)

Rub gently with your finger

Wipe even more gentler with a soft cloth.

Th owner name is really standing out, so does MASON,
but again the first letter is ??
My American guide list an C.R. Mason & Co, but I doubt there is anything past MASON, and I'm pretty sure there is nothing before the R.
Need more research...
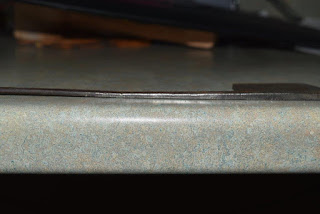
Once dry, I go over the body with a straight edge to assess its condition.
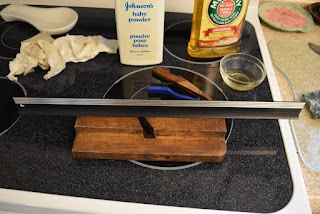

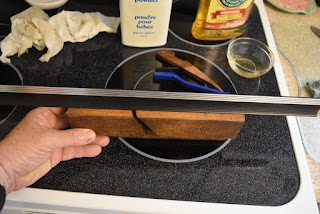
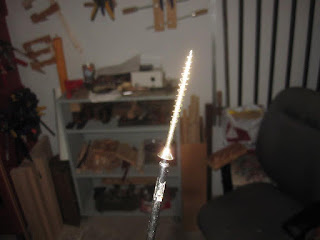
I sight along the edge toward a light. Not looking for machinist straight,
but no big dip or wonky surface. It is wood, not a machined block of steel!
So overall the body (stock) of the plane is in good condition, the sole has no issues. The mouth area is crisp, the sole well burnished.
At this time the body will show some matted area as it is drying, that's OK, I'll give it a rub with oil later finished with a buffed wax finish to protect it.
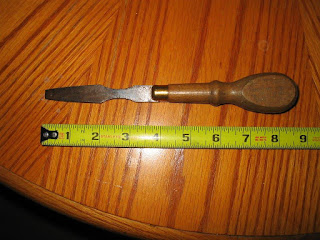
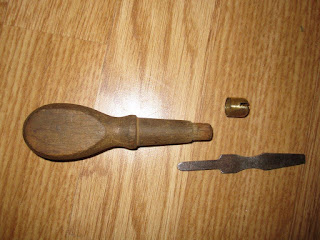
Time to turn our attention to the iron.


You did not think I was bringing my sharpening station
to the kitchen, did you?

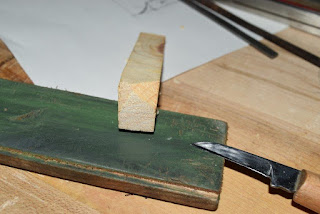
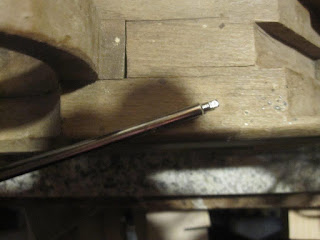
A quick rub on fine sandpaper, just to give me some indication of the flatness condition of the blade without removing much.

I go down to 220 sandpaper to go quicker.
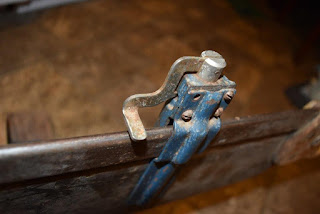
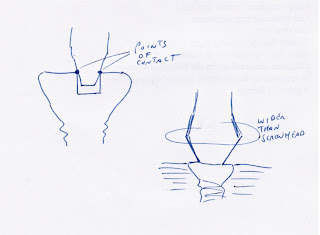
Note that I'm also touching the part of the tang that will be pushed
against the bed by the wedge.
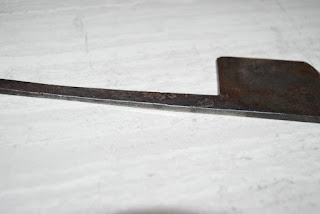
Similarly, I pay attention to the tang part against which the wedge press against.
See the rust bloom on it?

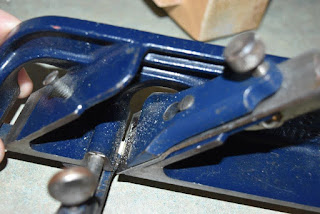
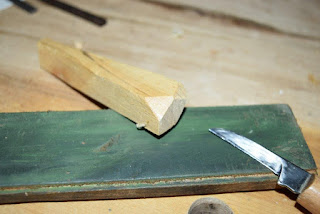
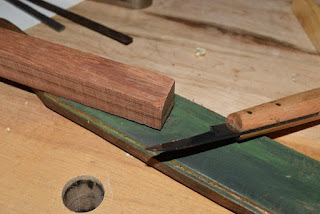
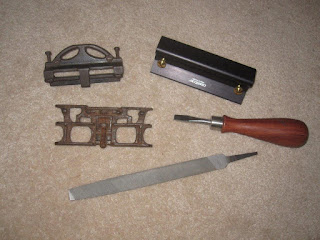
A quick touch up of the edge follows in my version of Ralph's jig

I used my two DMT diamond paddle: Black, (coarse), Red (fine)
followed by a leather strop with LV green honing compound
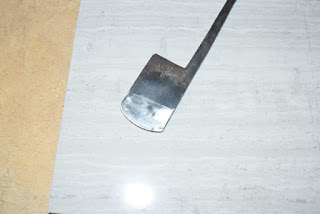

At this point, that is all I do to the blade, I'm just assessing it.
Can I go past pitting at the edge? If yes, good to go!
That is the minimum routine I do to my wooden planes to assess them, they have not touch wood yet, don't know how they will perform, but don't care.
I know its condition, I have stop rust and other damages, both the wood part and metal part are protected: Wood oiled and wax. Metal sharpen then oil wiped. Often I used WD-40, because it displace water, its a good thing.
Some time as part of its treatment, I'll also use Autosol, which leave behind a protective coating.
Bottom line, I do as little as possible not to change or alter the tool. For example, if I was to work on making the sides of the blade straight, I would be changing its radius (wich is 60 degrees of a full diameter circle). I would then just give it a quick cleaning with a rust eraser, just to stop corrosion that's all.
If more severely rust, I would drop it in an Evaporust bath.
Once fully dry would be reassembled, not before.
It is now ready to go joined the rest of its brethren in my plane till.
Whenever I have a use for it, that's when I would fine tune the blade and paying attention to the bed/blade/wedge interface.
Why stop now? Because it is strictly in storage for now. If I were to sharpen the blade to perfection, there is no guarantee that it would remains so for my next use. I normally touch up my edges before starting work, it is just part of my routine, especially that I now have a proper sharpening bench available :-)
And the shape its in now would cut wood no problem, I'm sure, but yeah, I would refine it some more...
Next part, we will do the final tune up and make some shavings.
Bob, who has an "Hollow"-graphic memory about his tools :-)
Translation: they sometimes go into the black hole of my Random Access Memory...